|
Questions
#1. My mandala's don't honestly mean anything. They are just an image in my head and me trying to figure out a creative perspective in one section of a photo. #2.To create the mandala I opened two files in different tabs on photoshop(photo of your choice/Mandala Templet) Then I used the magic wand tool and clicked on a portion of the circle from the templet getting a cone type shape. Move this into the photo and place it on any part of the image you want. Make sure the size on everything correct. Then move the image from the magic wand tool and drag it onto the templet and place it and rotate it in the space to fill a portion of the circle. Then fill in another piece by duplicating the layer and flipping it and placing it together. merge those layers, delete the templets, and duplicate the layer and place them together and you should have one half of a circle. copy that and repeat. merge the layers once you get a full circle and duplicate layer amnd
0 Comments
These are the Tessellations i created with the picture in front and the final product second. The way you do a tessellation is you create a new project, then you need to make it 8 by 8 300, then when the file is created you go to view and make a new guid layout. When creating the layout you need to enter either 2 by 2 or 4 by 4 or 8 by 8. it'll create the guide you want and then you place the cropped image portion you desire into the first box on the top left corner, after you copy that layer and flip it horizontal then again copy and vertical then again vertical and horizontal and repeat that process for every 4 boxes, 2 top and 2 bottom.
These are my portraitures and my model Milo Fox. The First three you see were retouched and you can tell because his skin looks clean. There are multiple steps to retouching making a layer mask and put the face on the original picture so its the same, then blur and fix the noise on the layer masked face and it gives him a clean look. Taking these pictures were fun and I love how they all came out!
These pictures are from the food photography. Learning to take pictures of food was fun and knowing how to take the pictures and make them look the way they do really minimize the work needed to be done in photoshop. Unfortunately the day we took these pictures were bright and sunny, so whip cream didn't last all to well. In my opinion the pictures came out great and I love how the reflectors the "warm golden look". The up close with the camera at f6 and the ISO at 1600
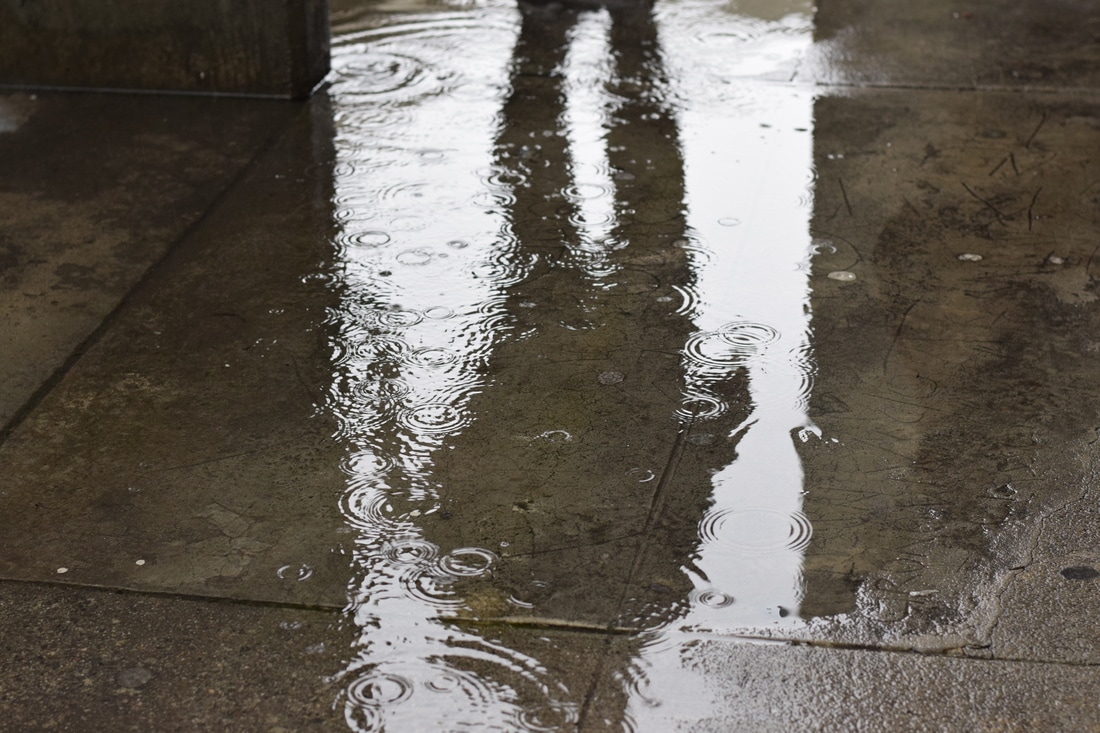
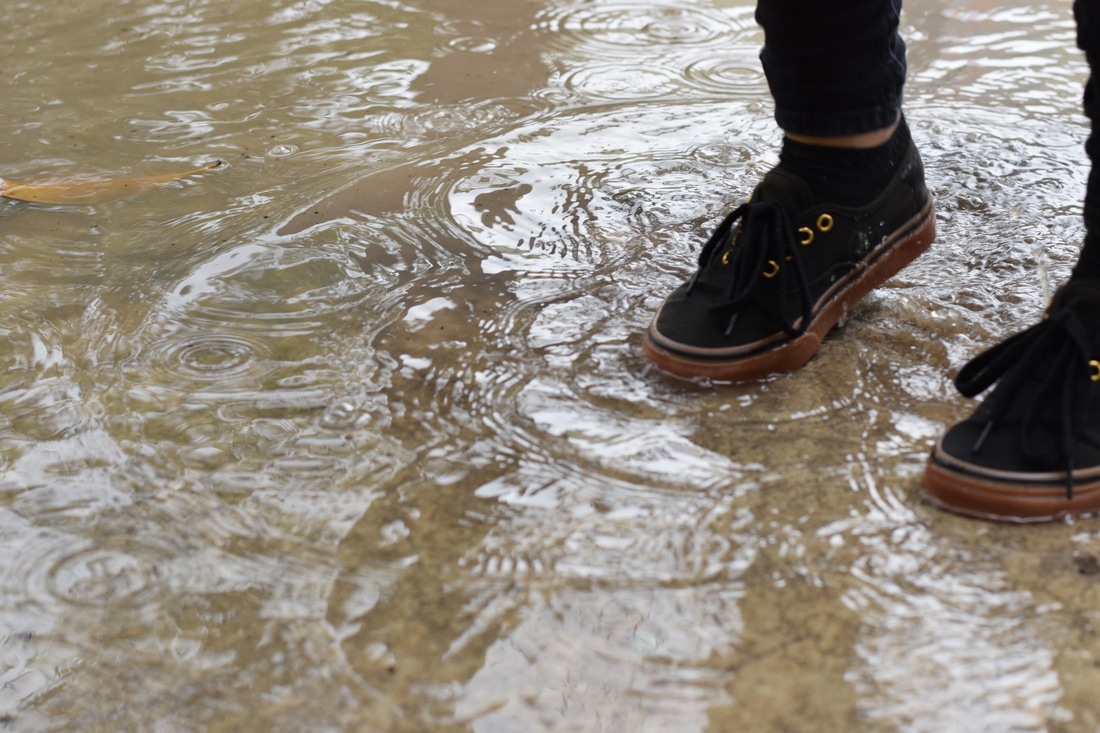
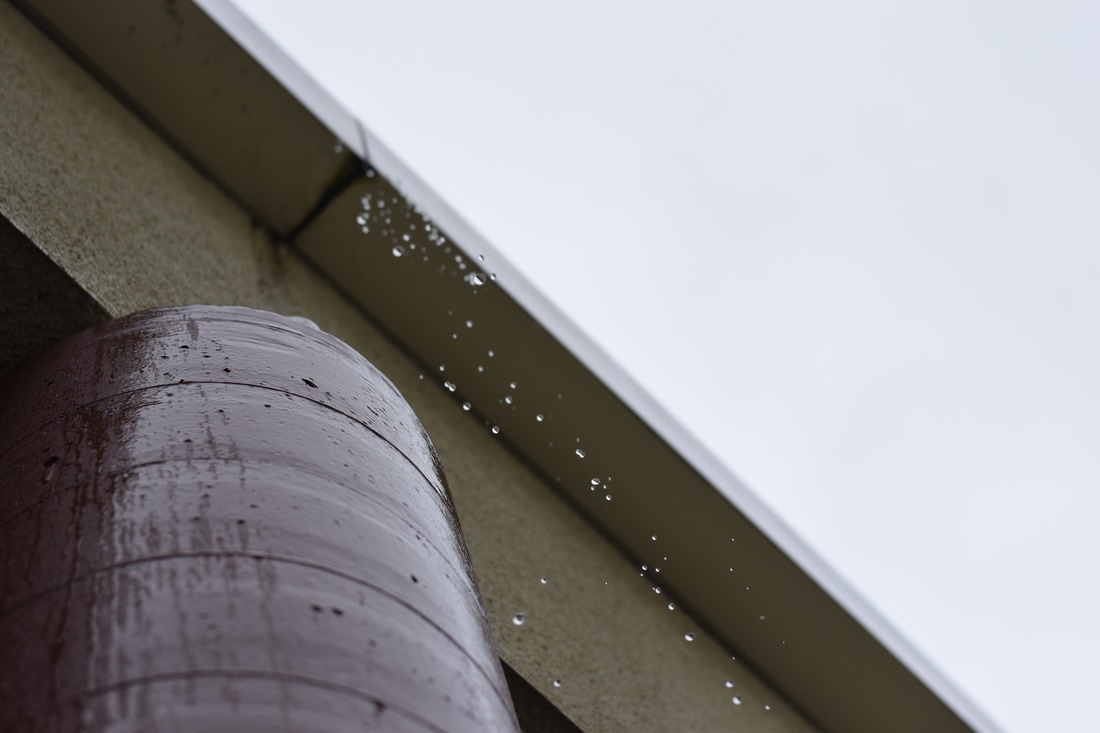
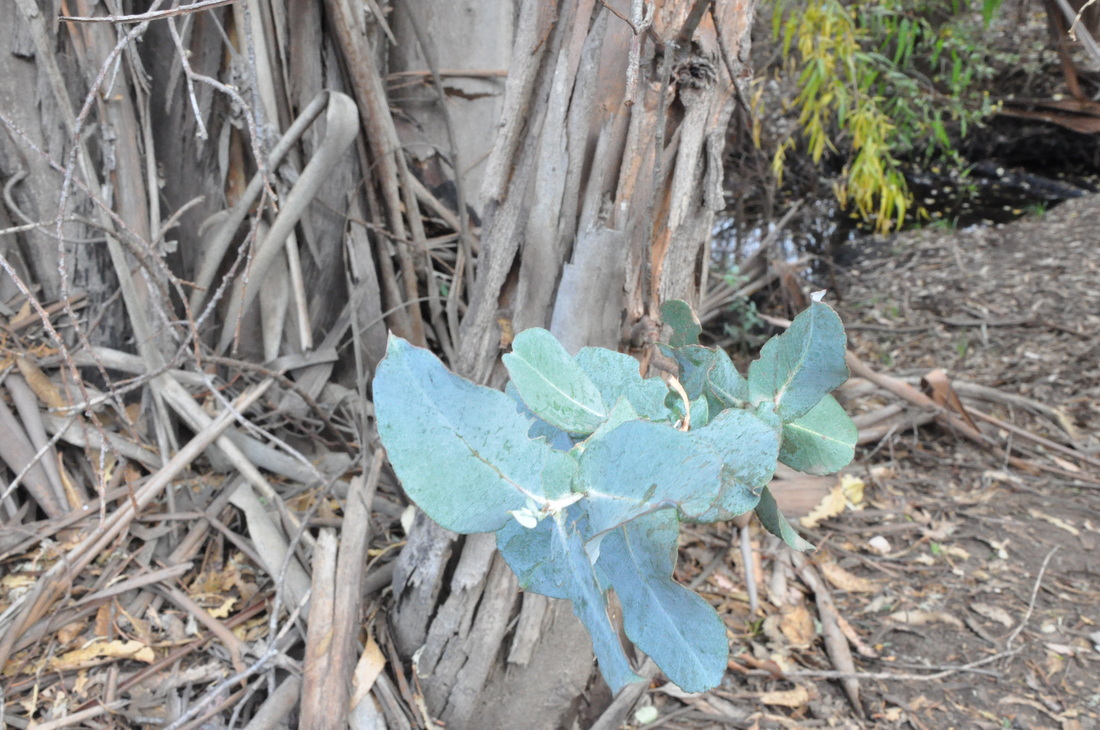
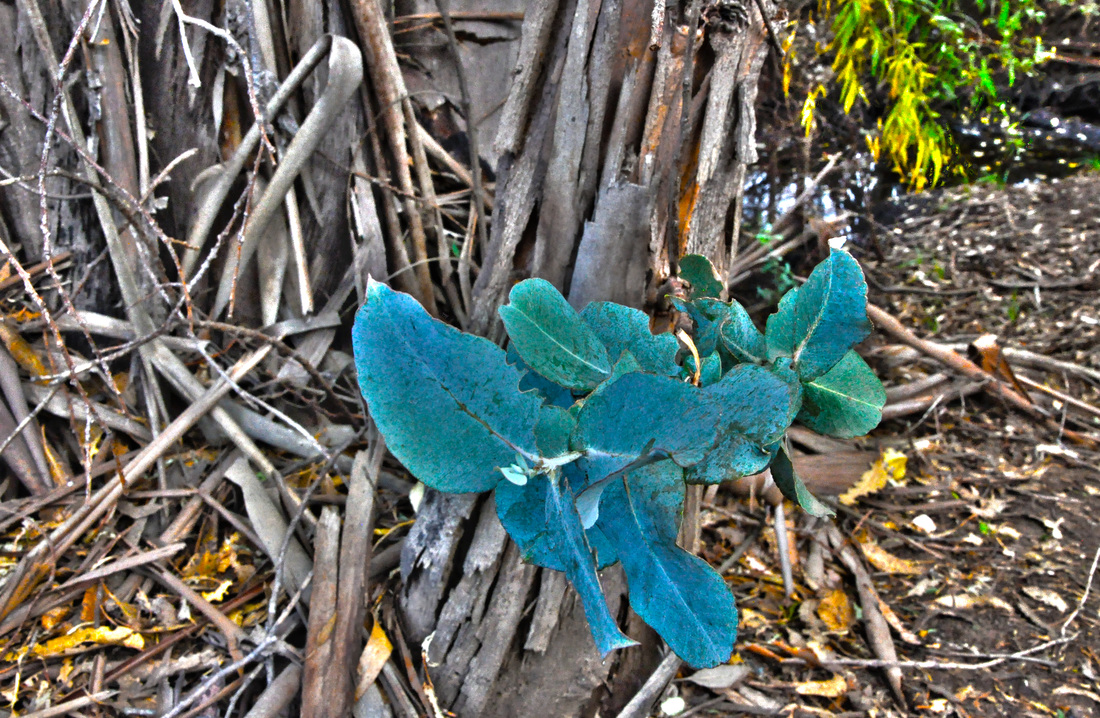
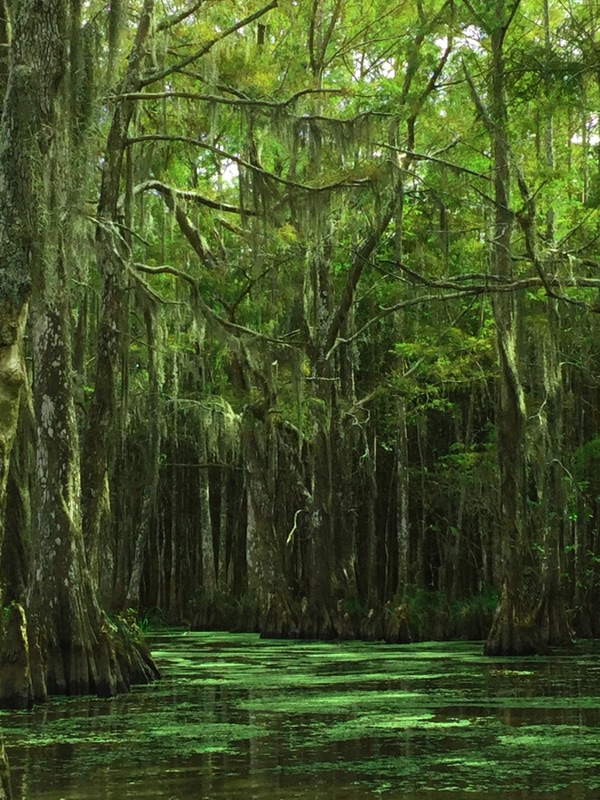 My name is Jacob Tatenco and I’m class of 2017. The title of this piece is “Swamp Fever.” The reason for this name is because the day this picture was taken my mom would not stop talking about how she couldn’t wait to see the swamp, and I wasn’t to excited at first but the second I saw the swamp I got excited and it was like a fever, my whole family was excited to see the whole swamp. This is a picture of the swamp pure water and trees looming over our heads. For this picture I took it on my Ipod the swamp in New Orleans itself was special and a beautiful sight to see, the only slight changes I did were on Photoshop to increase the vibrancy of the nature that the Ipod could not pick up. The reason I like it is because when people think of swamps they think of humidity and disgusting and bugs and just mostly negative things, and the reason I like it as well as think its successful is because it shows the beauty of nature and the swamp. If I were to describe myself as a photographer is I’m an in the moment Photographer, I don’t plan or set anything up in my favorite photo’s, although I do set up and planned photos. I have learned so much this year its hard to put into words, I’ve learned how and when to time photos, how to keep an eye out for a picture, to search for moments and how to take photos the proper way. I’m anticipating to learn how to position and sculpt my pictures to fit the image I have in my mind.
 In order to create my name project what I did on photoshop was open each one in separate files. I then changed the sizes to adjust and fit the sizes of the other pictures. After doing so i then moved each file into one new templet with a wide canvas. I then adjusted and fit the pictures as needed to spell my name. I struggled most with photoshop because i was unclear at first on how to adjust and fit the pictures onto one templet. What i like best about my pictures is how they came out and the objects i used, i feel they are really creative and unique to my name. I think i could have improved more on angles i feel there could have been a better way on taking the pictures.
LayerMask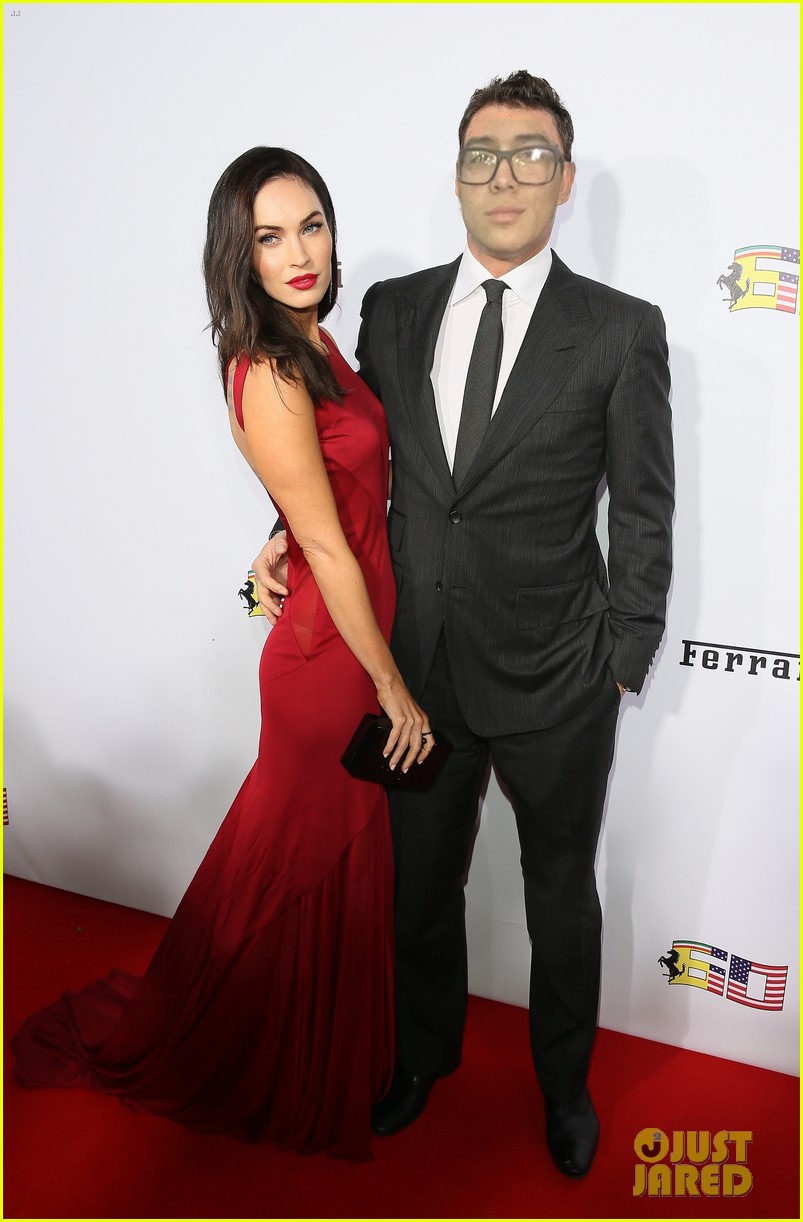 In this layer mask, it represents me and my favorite actress/ wife. i see myself in 20 years being with a woman as beautiful as Meagan Fox. I see myself walking into pristine places with a beautiful famous girl I'm married to.  In this layer mask, it represents everything i want to become. I want to be a winner, i strive to become a fighter. What i did to create this picture was i got the image off of google, then i replicated a face to reenact the image, after i put them both on photoshop and i merged the pictures. My dream is to fight professionally.
I used HDR -high-dynamic-range- photos by using various exposures and combining them in Adobe Photoshop. These pictures were taken by the standard camera we have in class we used a tripod to get the exact same picture., putting the exposure compensation at 5 different settings: -1.0, -0.5, 0.0, 0.5, 1.0. I went into Photoshop and went under script under [File > Automate > Merge to HDR Pro] to collect all five photos of each image and manually edited the settings of the HDR Pro tool to edit it and change the saturation of the picture. I clicked okay and it created my picture into HDR.
Artist as a mentor |
AuthorMy name is Jacob Tatenco and I've always have had a vivid imagination. I got into photography to try my hand in it and as a small hobby. Archives
May 2017
|


 RSS Feed
Photo used under Creative Commons from ScottMPhotos1
